Enable WIFI ADAPTER Monitor Mode in Kali Linux

Connect the WIFI adapter and add it in VirtualBox USB Settings TP-Link TL-WN725N 150Mbps Wireless N Nano USB Adapter https://www.amazon.in/gp/product/B008IFXQFU Check the Adapter Chippet lsusb Bus 001 Device 002 : ID 2357 : 0109 TP-Link TL-WN823N v2 / v3 [Realtek RTL8192EU] Bus 001 Device 001 : ID 1 d6b: 0002 Linux Foundation 2 . 0 root hub Bus 002 Device 002 : ID 80 ee: 0021 VirtualBox USB Tablet Bus 002 Device 001 : ID 1 d6b: 0001 Linux Foundation 1 . 1 root hub Find Appropriate Driver for Realtek RTL8192EU from GitHub https://github.com/clnhub/rtl8192eu-linux Install the dependencies sudo apt install linux-headers-generic build-essential dkms git Clone the Driver git clone https://github.com/clnhub/rtl8192eu-linux.git Configure the Architecture and Monitor Mode Open MakeFile in Text Editor or Nano If you're using a different architecture than x86, the set (MakeFile) CONFIG_PLATFORM_I386_PC = n set your architecture CONFIG_PLATFORM_ARM_AARCH64

Installing Kali Linux in Windows 11 using WSL2

Kali Linux is the powerful operating system for penetrate testing and ethical hacking. You can install Kali Linux in three ways,

  1. Install along with Windows (Dual Boot)
  2. Install using Virtual Machine (VMWare or Virtual Box)
  3. Install using WSL2 (Windows Subsystem for Linux)

This post explains how to install Kali Linux in Windows 11 using WSL2.

  • Prerequisites: Running Windows 10 version 2004 or higher
  • Open PowerShell as administrator and run:
    Enable-WindowsOptionalFeature -Online -FeatureName Microsoft-Windows-Subsystem-Linux
    
  • Restart the Windows OS
  • Open PowerShell as administrator and run:
    dism.exe /online /enable-feature /featurename:VirtualMachinePlatform /all /norestart
    dism.exe /online /enable-feature /featurename:Microsoft-Windows-Subsystem-Linux /all /norestart
    
  • Restart the Windows OS
  • Download and install the WSL2 Linux Kernel from here: https://aka.ms/wsl2kernel
  • Open PowerShell as administrator and run:
    wsl --set-default-version 2
    
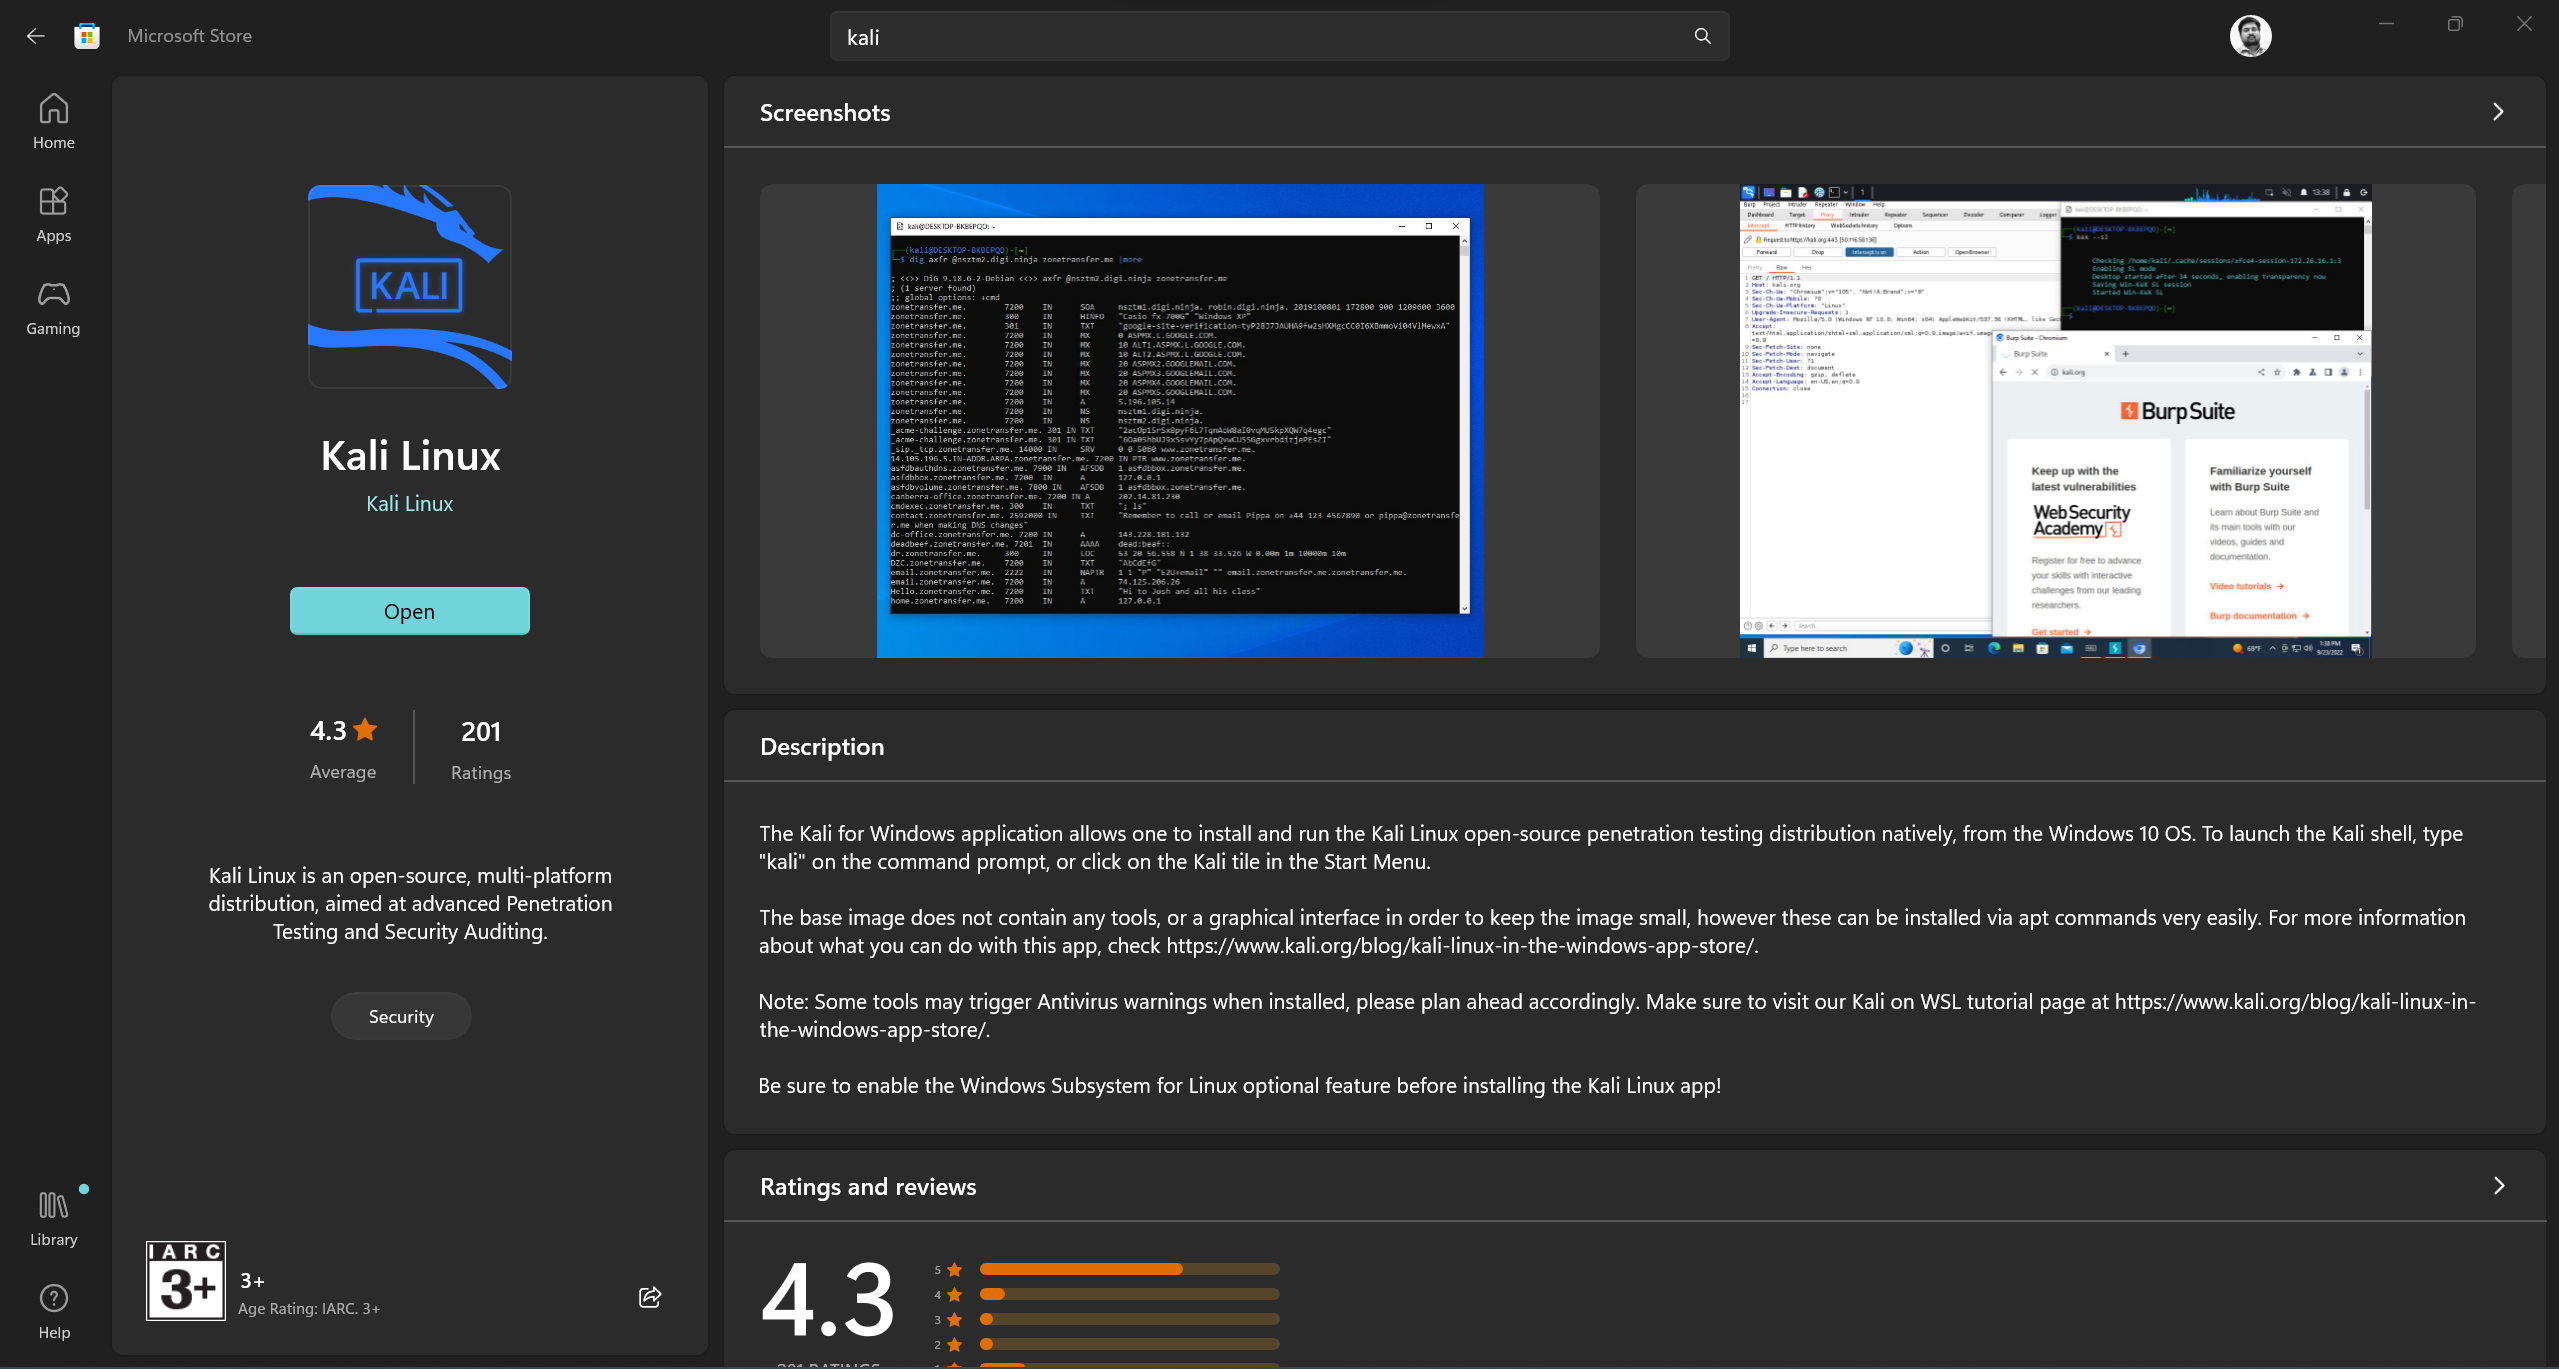
  • Install Kali Linux from the Microsoft Store kalilinuxmsstore

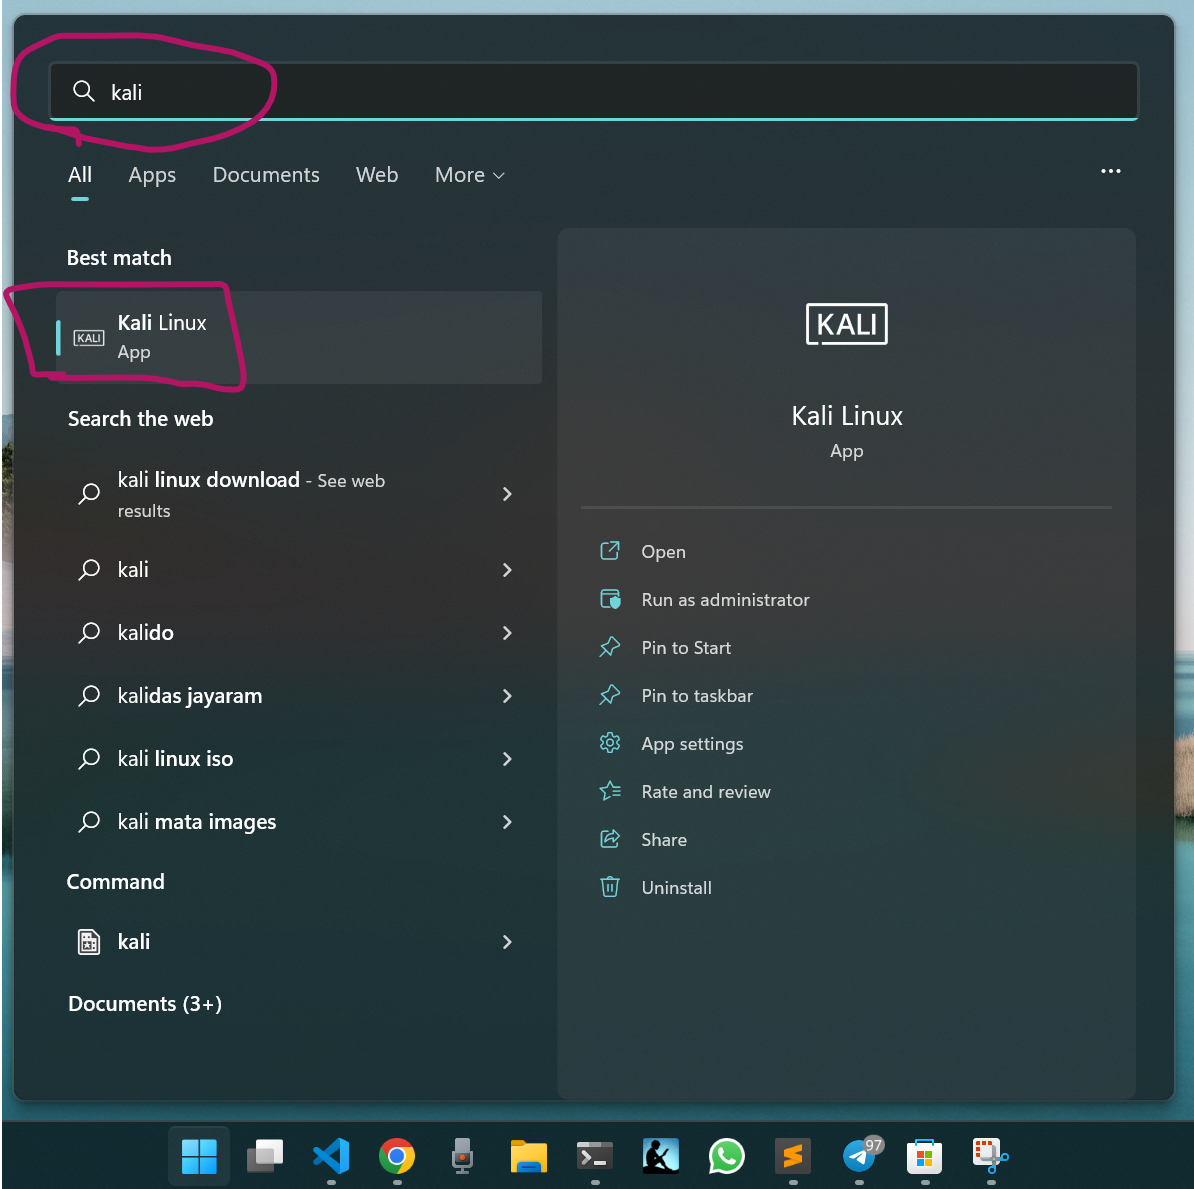
  • Open the Kali Linux from Start Menu (Type Kali in Search Box) kalilinux

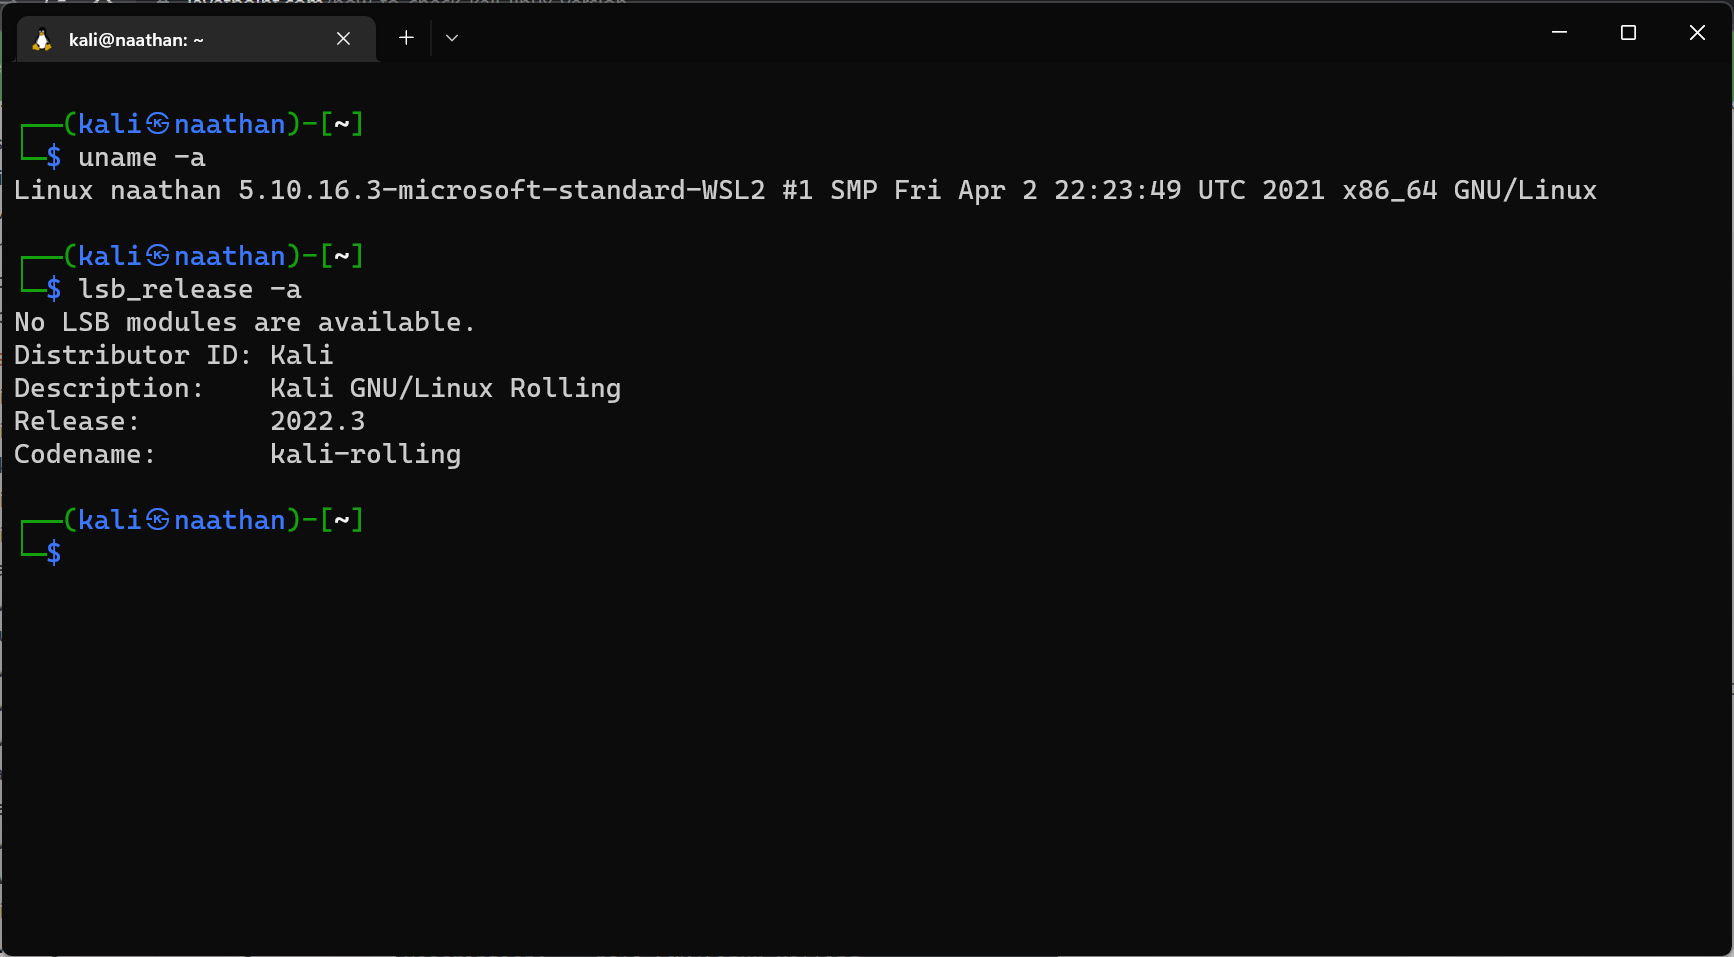
  • Run Kali and finish the initial setup (Provide new username and password) kalilinux

  • In the same terminal, Install Win-KeX and ALL Kali Linux Tools (To use Kali GUI in Windows Itself)

    sudo apt install -y kali-win-kex kali-linux-large
    
  • During installation, Installer will ask you to select some preferences for final setup.
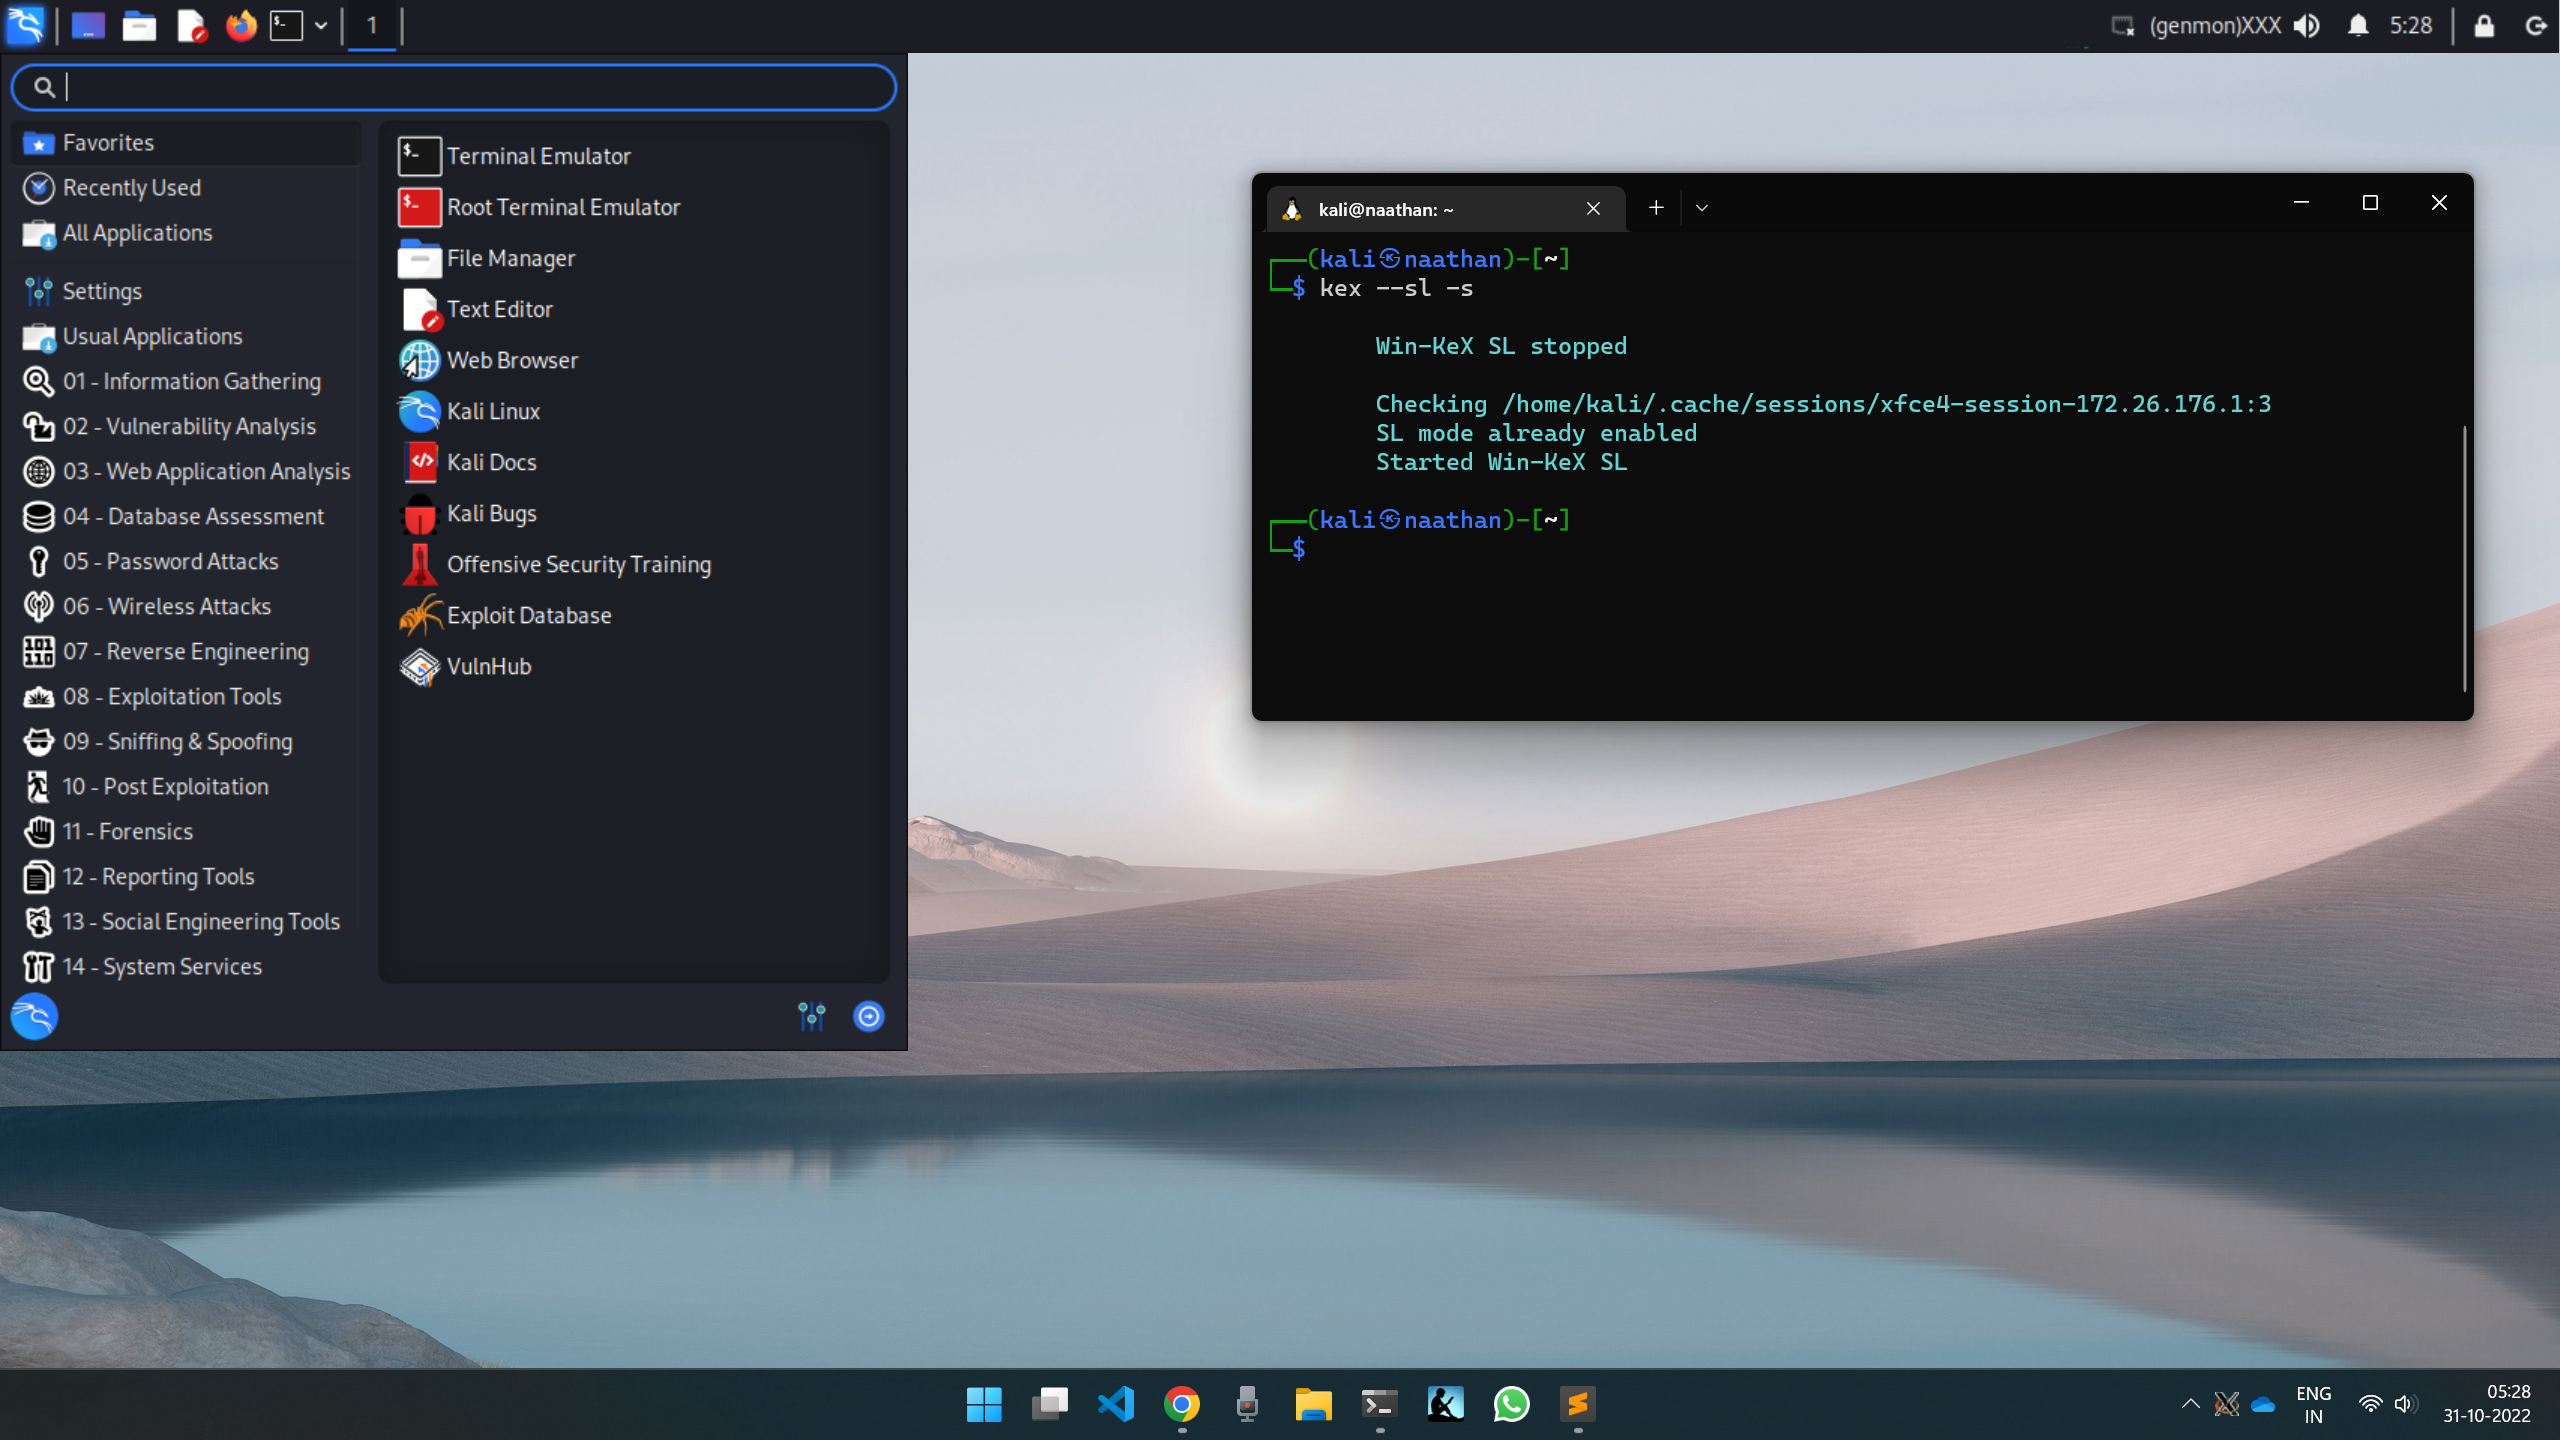
  • Run the below command for opening Kali GUI in Windows
    kex --sl -s
    
  • Now, you will be able to use Kali Linux GUI with ALL functionalities in Windows Itself. kalilinuxgui

Comments

Popular posts from this blog

How to add or remove plugins to Redmine Project Management Software?

Setting up the Java, JavaFX, and Servlet Environment

Setup SSH Server in Ubuntu or Virtualbox Guest OS